Somewhere on the list of things I worry about is my personal contribution of trash to the world. I try not get too fixated on it, but I can’t help feeling a tinge of guilt every time I throw away a piece of plastic. In an effort to curb my reliance on disposables, I spent a few hours recently making some reusable bowl covers and waxed cloth. They take the place of non-recyclable plastic wrap and aluminum foil, and they’re much more stylish than obsessively rinsing out lightly-used ziplocks like a depression-era grandmother.
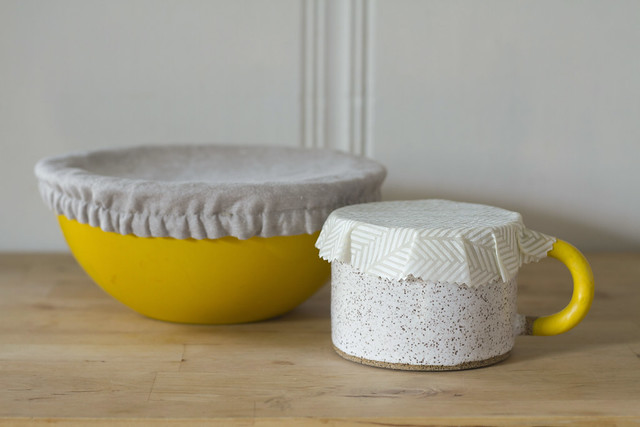
The fabric bowl covers were pretty straightforward. I pulled some leftover linen from my fabric stash to use as the outer fabric, and some cotton broadcloth became the lining. I mostly followed these instructions (but without the vinyl) and added one step: I made sure the outer fabric was inset slightly when I sewed the pieces together. When the cover is turned right-side-out, the outer fabric overlaps the lining just a skosh, so you don’t have to worry about it peeking out.
My waxed cloth research led me to this tutorial, but I ended up changing things a bit. I found the jojoba oil didn’t contribute much, so I nixed it after the first test piece. Using that proportion of powdered pine rosin made my cloth kind of crunchy and stiff, so I scaled it way back and just went with a light sprinkling on subsequent pieces. I also thought trying to spread the wax with a paint brush was a little fiddly, and ended up using my fingers– but I’d advise against that method unless you’ve also built up a tolerance to high temperatures after years of burning your hands while cooking.
I made a couple eight inch squares, and three circles: twelve, eight, and six inches. I used about a half an ounce of beeswax and maybe a couple tablespoons of powdered pine rosin in total. The pine rosin lends a tackiness and flexibility that helps the waxed cloth cling well, but I’m not sure it’s worth the cost of buying outright– especially because it’s not usually sold in smaller than one pound units. Using just beeswax shouldn’t compromise much functionality, and it’s way simpler and cheaper.
So, to make waxed cloth:
– Cut some pieces of cloth with pinking shears (this helps prevent fraying).
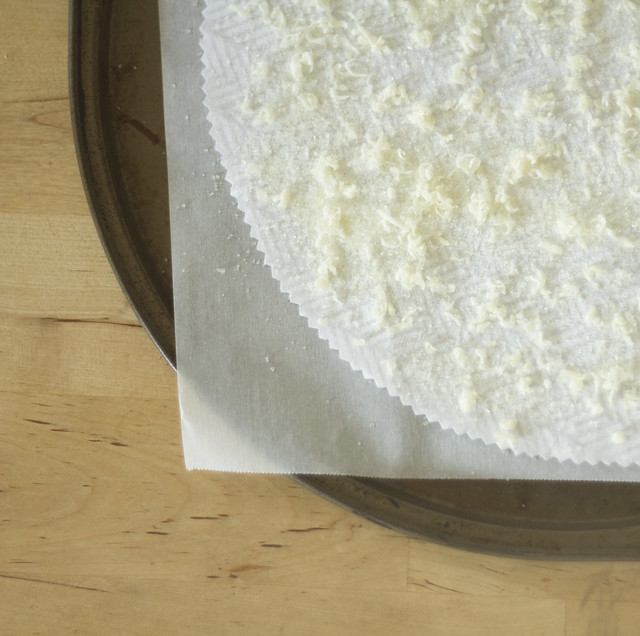
– Preheat oven to 200ish degrees fahrenheit and cover a baking sheet with a piece of parchment paper.
– Place one piece of fabric on the pan and sprinkle liberally with grated beeswax and lightly with powdered pine rosin, if using.
– Heat in oven until wax is melted, and use a brush or your fingers to distribute wax over the cloth. If necessary, sprinkle more wax and heat it again until you’ve got the coverage you like.
– Set aside to cool and repeat with remaining cloth.
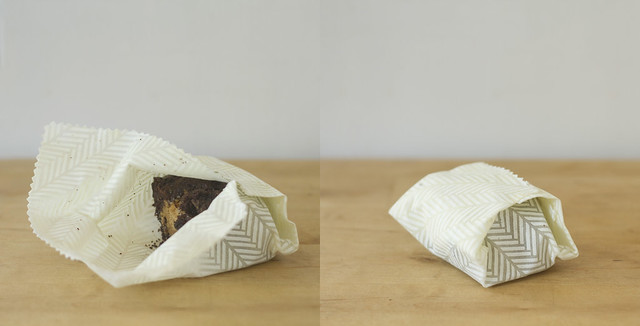
In the end, my waxed cloth turned out fantastic. At room temperature it’s fairly rigid, but the heat from my hands softens it into something more malleable. It’s easy to shape it over the top of a bowl or form it into a parcel, and because it’s made of beeswax, it’s got that same sweet scent. So far, the fabric covers have been used on bowls of rising bread dough, and the waxed cloth has mostly enclosed leftover baked goods. The covers can be tossed right in with the wash, and the waxed cloth can be rinsed with soap and cold water and used again and again.