I’ve got a few fabric-printing techniques under my belt, each with its own drawbacks, benefits, and results. Screen printing is a good way to cleanly and uniformly print a lot of a complex design at once, but never seems to be a good option for last-minute projects because our photo-emulsion is somehow perpetually expired. It’s also a bit more complicated and involved, since there are many steps to go through to produce a good screen and then print with it accurately, so it’s not the most economical option for really simple projects. Freezer paper stencils can produce a print similar to that of a silk screen, but can only be used once– and depending on the complexity of the design, they can take a while to make. Stamping fabric to produce a design takes just a tad longer than the time you spend carving the stamp, which, if you’re using a potato, could take just a minute. Printing with stamps is not typically clean– there tend to be artifacts like smudges and drips, too much or not enough paint, and it can be hard to achieve a lot of detail. It’s this imperfection that I find charming and lovely, and that’s why I decided to stamp some fabric.
 All you need to to print your own fabric is something to print on, something to print with, and some ink.
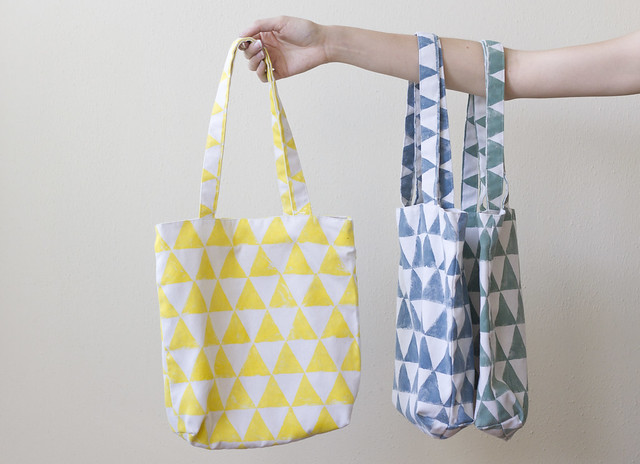
– My plan was to make tote bags with a simple triangle print in three different colorways, and since I already had a lot of nice bottom weight cotton on hand, I decided to just make my own rather than drive to the store to buy blank bags. I cut out the pieces for each bag before printing them so I’d have no wasted fabric.
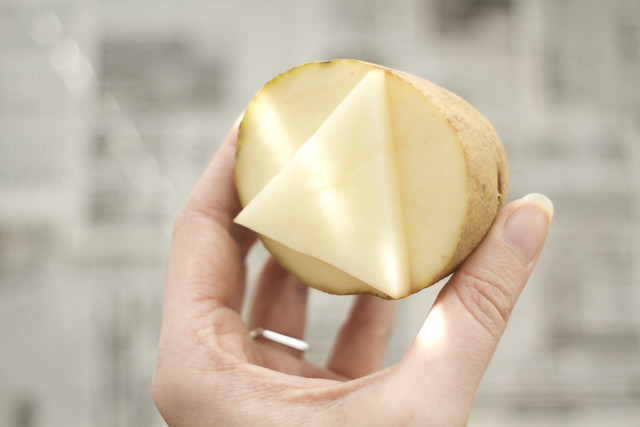
– You can find a myriad of excellent stamp-making options at your typical craft store, but if your design is simple and you don’t care about saving your stamp, a potato’s the way to go. It’s cheap, biodegradable, and if you mess up while carving it, you can just slice a little off and start over.
– I used a screen-printing ink I had on hand, but I’d imagine fabric paint would work too. Regular old acrylic paint might do in a pinch, but won’t hold up as well to washing and will crack and chip over time.
First, make sure whatever you’re printing on is clean and ready to go. I used this tutorial to make my tote bags, and had each piece cut and the components of each bag organized before I started. Next, carve your stamp:
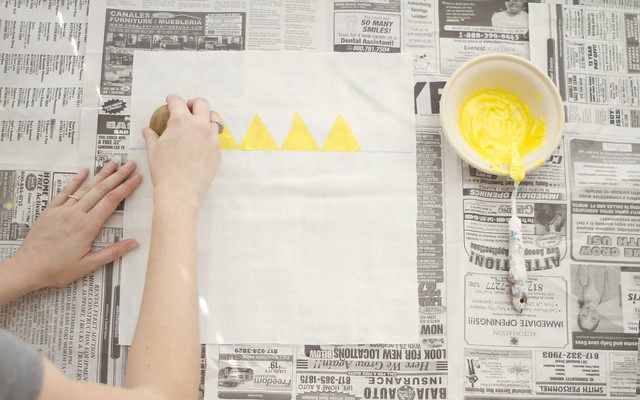
 Since I wanted to create a grid of triangles, I used a fabric pen with disappearing ink to draw a single line through the middle of my fabric. This ensured my first row was straight and allowed me to stamp repeating rows of pattern accurately.
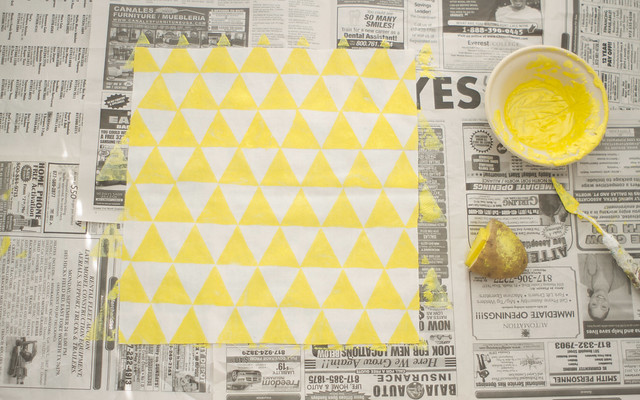
 I tried dipping my potato stamp in paint, applying it with a palette knife, and painting it on with a brush; I found that the latter had the most consistent results. After I stamped the first row, I matched up the top corners of the printed triangles with the bottom corners of my stamp, and covered the entire piece of fabric.
 The silk screen ink I used needs to be heat-set, so I ironed each piece for a few minutes, then sewed up my bags:
 I love how they turned out, and I’ll definitely use this method again in future projects!

Pingback: 5 DIYs for your Weekend | papernstitch
Pingback: things made of cord |
Pingback: Un totebag géométrique fait main | DIY Loisirs Créatifs My Diy
Pingback: Nifty Links 3: DIY Totes and Tee | hello cheechako
Pingback: 25 Ways to Decorate a Plain Tote Bag - Henry Happened
Pingback: Las formas geométricas triunfan donde sea | wacapaka
Pingback: 1 Material, Many Ways – 7 DIY Potato Stamp Projects | Whimseybox
Pingback: Craft fun | Pearltrees
Pingback: 26 Ways to Decorate a Plain Tote Bag
Pingback: 5 regalos DIY para el Día de la Madre + lámina descargable | wacapaka
Pingback: DIY Gifts You Won’t Have to Pretend to Love | Africwap - Entertainment, News Portal
Pingback: hand bags
Pingback: 14 Potato Stamping Fun & Creative Ideas - Bright Star Kids
Pingback: 8 regalos DIY para el día de la madre – That's DIY
Pingback: 7 Ways to Jazz up your Tote Bag
Pingback: Easy DIY : Potato Stamped Tote Bag – The DIY Adventures