
 Winter in an old, uninsulated, pier-and-beam house can be downright frigid, and no matter the temperature on the thermostat, our floors are reliably ten degrees colder. My last pair of slippers made it a good six years, but were a little worn-down and ragged when I threw them out in a fit of organization (sometime much warmer than now). After a month of toughing it with nothing but socks between me and chilly hardwood floors, I finally resolved to make a pair of slippers.
I knew I’d want to use wool for its warmth and durability, and after a lot of searching, I landed on this felted slipper pattern. I also decided I’d stitch a suede sole to the bottom of each slipper. My last pair had felt bottoms, and I figured suede would offer a big improvement in traction, and might also be less likely to attract every stray cat hair on the floor of my house. I selected a couple skeins of yarn, pulled out some scrap leather, and got to work.
(When making any felted project, it’s important to select a 100% wool yarn– blends or treated wool (like superwash) won’t felt. If you’re not sure about a yarn, it’s best to knit a test swatch and run it through a hot wash cycle before you spend a lot of time knitting.)
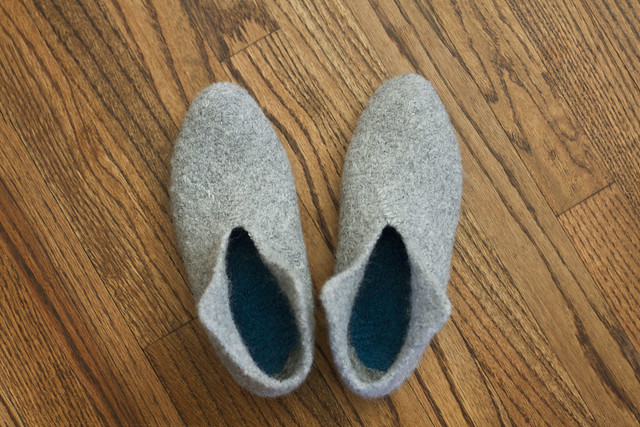
I followed the pattern precisely, but added an extra step before felting: I traced the bottom of the unfelted slipper onto asymmetric graph paper and used it as a guide to knit an “insole” in a dark blue yarn. I turned each slipper inside out to stitch on the insole, making sure not to carry the yarn through to the outside of the slipper, where it would show. This serves as a little additional padding, and should be less likely to show wear than the light gray yarn I used for the outside.
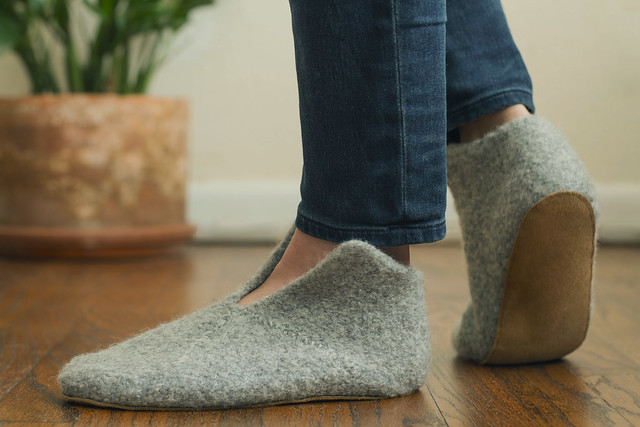
After running the slippers through a hot wash cycle, they were small and a little lumpy. To form each slipper, I put on a few socks for padding and a plastic bag to keep them dry, and stretched the still-damp slipper over each foot. Before it dries, the wool is surprisingly malleable, and it doesn’t take much effort to coax it into shape. I happen to have some lasts, so I put them into the newly-formed slippers to help them keep their shape as they dried. If you don’t also happen to own esoteric shoemaking equipment, you can just ball-up some aluminum foil and wedge it into each slipper for a similar and less pretentious effect.
When the slippers were totally dry, I put one on and traced the bottom of my foot to come up with a shape for the sole. Each sole-shaped piece of leather was stitched to the bottom of each slipper with heavy-duty sewing thread, and at long last, the slippers were complete.

I don’t usually put this much effort into anything I make for myself, but I love how they turned out, and hopefully they’ll keep my toes warm for years to come.
One Response to new slippers