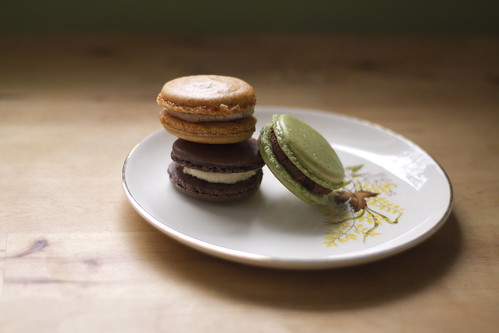
 Macarons have a sort of wonder reserved for them, a certain high favor that is not usually bestowed upon cookies. Their tricky preparation and French origins make them seem a little inaccessible to the home cook, a problem compounded by the fact that until recently, nearly all macaron cookbooks were printed solely in French. I had two macarons at a fancy pastry shop in New York a couple years ago, and decided to learn how to make them. There are a lot of resources scattered around online and in books, so I decided to compile all the information I use here, in one place.
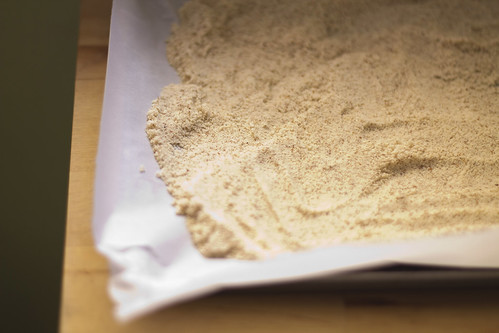 First step: grinding almonds. I had read here that commercial almond flour didn’t turn out the best results, so I have always ground my own. I considered trying a batch with almond flour recently, but since I live in Ohio, The Land Devoid of Specialty Baking Ingredients, I am stuck doing it the old fashioned way. I use a small coffee grinder to break down my almonds, and if you don’t want bits of almond skin marring your finished cookie, use blanched almonds. I sift the flour through a fine mesh sieve, then let it sit for a couple hours in the oven at 150 degrees F, so that it dries out some.
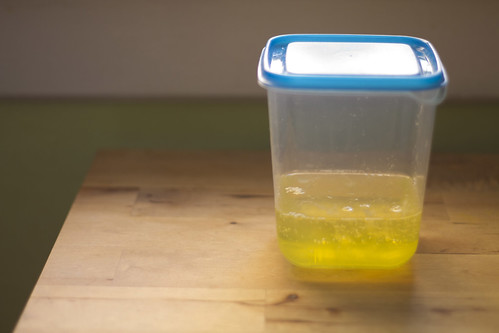 Everybody says the egg whites you use for the meringue must be at least a day old, presumably because they thicken as they age, but I have used egg whites that were only twelve or so hours old, and noticed no difference. Whatever age your egg whites are, be sure they are completely room temperature before you begin to whip them.
 Next, trace some circles onto parchment paper to help guide you as you pipe batter. I use a little piece of pvc Nick cut for me with an interior diameter of 1 3/4″, but you can use any small round thing. It’s best to pipe onto the opposite side you traced on (because the cookies will pick up pencil marks) so take that into account if you have curly parchment paper. Depending on the size of your circles, each batch will produce around 30 to 40 halves of cookies (15 to 20 when they’re sandwiched together), so you may need a few sheets of parchment paper. When you have these things ready, you’re good to go.
Basic Macaron Batter, adapted from this recipe:
1 1/4 cups powdered sugar
1 cup ground almonds
1/4 cup plus 2 tablespoons egg whites
pinch of salt
pinch of cream of tartar
1/4 cup granulated white sugar
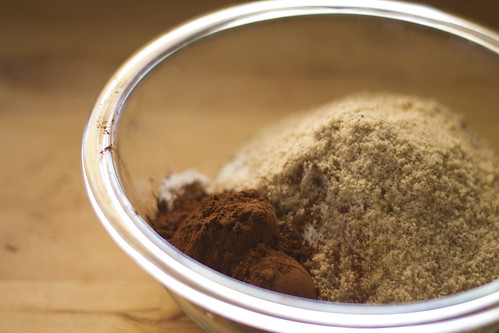 First, prepare your dry ingredients. If you are flavoring your macarons with a spice, zest, or a powder of any kind, you’ll sift your flavor with the ground almonds and powdered sugar. I usually sift these ingredients into a gallon size plastic bag and put it in the fridge until I need it. For this batch, I used 3 tablespoons of cocoa powder to make chocolate macarons.
Next, you’re ready to make meringue. Put your egg whites, salt, and cream of tartar into the bowl of your stand mixer (or any non-reactive bowl if you’re using a hand-held mixer) and start whipping at a medium-high speed. When your egg whites start to get frothy, gradually add the white sugar. If you are flavoring your macarons with an extract (or other liquid) or adding color with liquid food coloring, you can do so at this point. As air is whipped into the egg whites, they will grow in volume and lighten, so the color you see initially will be darker than the color of your finished meringue. Now, sit back and wait– because you won’t be ready for the next step until you have glossy, gravity defying peaks:
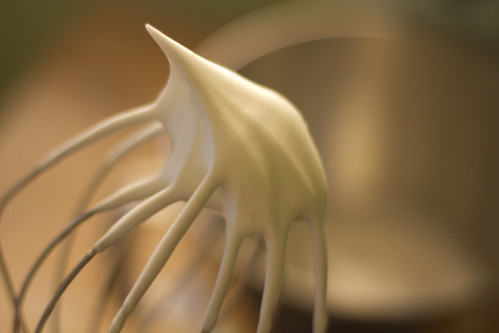 And this is very important– your meringue should be completely stiff and resist flopping when you wave it around. Next is the trickiest part of making macarons: mixing together the dry ingredients and meringue.
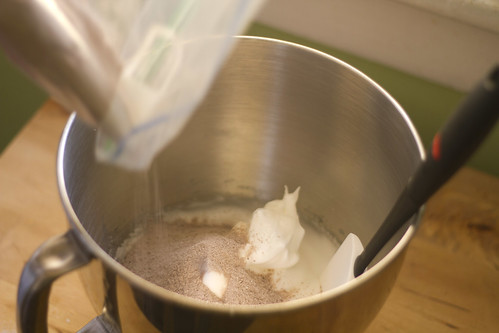 Mixing is tricky because it’s this step that determines if your batter will smooth out and form perfect macarons. Mixing too little produces macarons that bake up exactly as you piped them, with ridges and bumps. Mixing too much produces flat macarons with little to no “feet” (the scrumbly part at the bottom of the cookie). It may take a couple of tries to get the hang of the right consistency, but the upside is that under- or over-mixing has no effect on flavor. You will still have a delicious cookie, it just might not be the prettiest thing.
When you’ve got stiff peaks and you’re ready to add the dry to the wet, take the almond/powdered sugar mixture out of the fridge and add to your meringue in three installments, mixing with a spatula until there are no dry particles left. When your dry ingredients are completely incorporated, you can start the “macaronnage”. This is the french word that describes the specific way to mix your batter. Since I couldn’t take a picture of myself mixing, I took a picture of a picture, from this book:
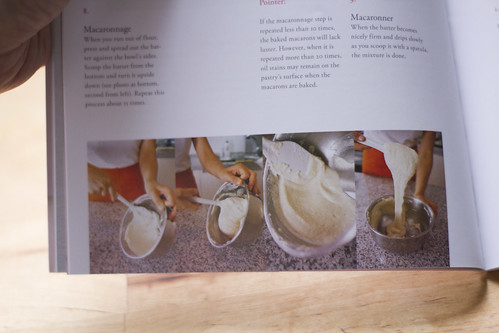 Essentially, you should spread your batter across the side of the bowl, then scrape it from the side of the bowl, folding it back over on itself. This book says to repeat this process more than 10 and less than 20 times. You’ll know that your batter is ready when it begins to flow and flattens out within 30 seconds or so. If you need a better visual, there’s a great youtube video here that shows macaronnage. It’s probably especially helpful if you speak French. When your batter’s ready, scoop it into a piping bag, or if you’re not so lucky, the bag you stored the almond/powdered sugar mix in. Snip off 3/8″ of the corner and start piping.
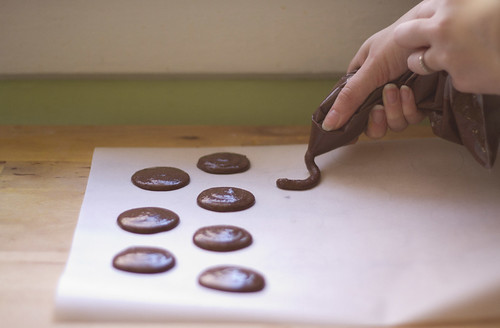 You can see in this picture that the cookies piped in the first row have already smoothed out, and the ones more recently piped still have ridges. If your cookies have little imperfections, you can smooth them out with a wet fingertip. After you’ve piped all your cookies, let them sit and dry out for an hour or so. This helps them develop a “shell” or slightly crunchy outer layer. You’ll know when they’re done drying when they no longer look glossy, and when the batter doesn’t stick to your fingers when you lightly touch the cookie.
Bake in a preheated 325 degree oven for 15 or so minutes, turning once halfway through for even baking. Your macarons should begin to develop feet after about five minutes. If the edges begin to brown, remove them immediately. You’ll know that the cookies are done if after cooling for five minutes, you can remove them from the parchment paper without trouble. If you try to remove a cookie and chunks of it stick to the parchment paper, put in back in the oven at 300 degrees, and check every few minutes to be sure they aren’t browning. If you’ve made it this far, the hard part is over! Now you only need to decide what filling you’ll use in your macaron sandwiches.
You can make macarons in conceivably any flavor you can think of, and the same is true for the filling– you can pipe on ganache, jam, lemon curd, frosting– anything you can put between two cookies. Typically macarons are sandwiched with buttercream frosting between them, but I find this too sweet. My favorite frosting to use is one made out of mascarpone that is only slightly sweetened. I don’t usually measure (it’s a very forgiving frosting) but here are some approximations:
2/3 cup heavy cream
3/4 cup mascarpone
3 tbsp powdered sugar
1 1/2 tsp vanilla extract
To make this frosting, pour the cream into a cold bowl and whip until stiff. Whisk in the remaining ingredients. This is easily adaptable, and you can add spices, extracts, or other ingredients to flavor your frosting. I whipped in two tablespoons of caramel sauce to make a caramel frosting for these chocolate macarons.
When you’ve got a frosting ready, match up macarons of similar size and shape, pipe on about a tablespoon of frosting, and put it all together. Macarons are best when they’ve sat overnight in the fridge and the frosting has softened them. Store in an airtight container in the fridge, and they should last about a week.


Pingback: burgers and fries |
Pingback: happy holidays, folks |
Pingback: wedding presents |
Pingback: red, white, and blue macarons