Blog posts have been few and far between recently, and the main reason is that it’s been rainy and overcast every time I thought to take out a camera. I almost caught a break the other day, but soon after I started taking pictures, the clouds swooped in. And once you start the yogurt-making process, you can’t stop and wait for the sun to come back out.
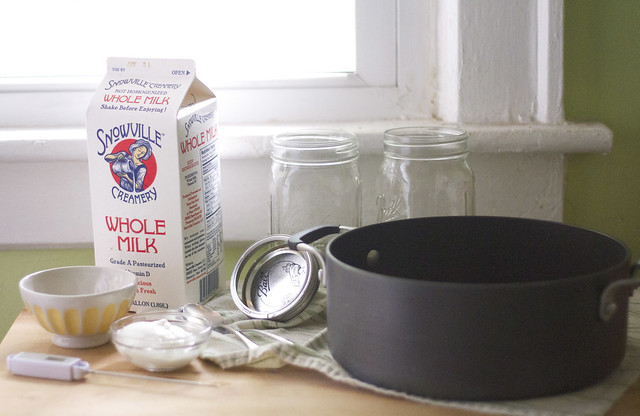 I like store-bought yogurt as much as the next girl, but sometimes I get a craving for some thick, sweet yogurt with a minimum of tang, and the only way to get that is to make it myself. To make about a quart of yogurt, you need:
a large saucepan
a thermometer
something to hold the yogurt as it develops (i used two quart jars)
a small bowl
several spoons
a few spoonfuls of yogurt
a half gallon of milk
and a heating pad, clean dishtowels, and a small cooler
Before you start, make sure anything that will come in contact with the milk and yogurt is completely sanitized. I usually bring a stock pot full of water to a boil, and toss everything in for a few minutes. Your milk/yogurt mixture will be cooking around 110 degrees for several hours, and if you haven’t cleaned everything to death, you’re just asking for a germ party.
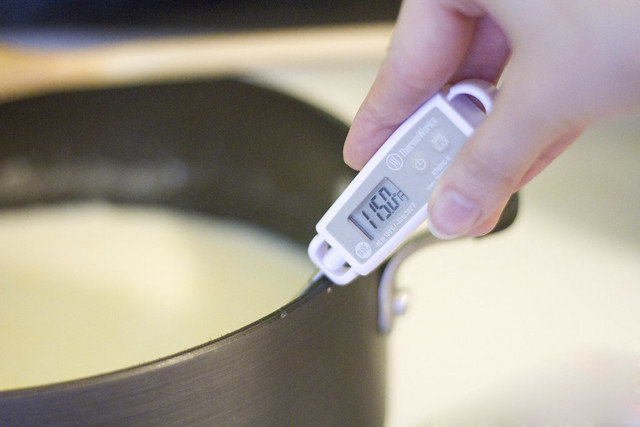
Once you’ve sanitized, pour the half gallon of milk into the pot. I used a fancy local whole milk that is not homogenized, but any type of whole or 2% milk should work just fine. I like to sweeten my yogurt slightly by adding a scant half cup of sugar at this point, but you can either omit it or adjust it to taste. Heat it to between 180 to 190 degrees, stirring frequently as it reaches temperature. This step kills off anything that may be floating around in your milk before you incubate it. Allow the milk to cool to around 115 degrees.
 Working quickly so your milk doesn’t cool too much, stir a few tablespoons or so of milk into a few large spoon fulls of yogurt until combined. Doing so makes it easier to evenly incorporate the yogurt into the milk. Pour the yogurt mixture into the milk, mixing well. Transfer the milk/yogurt mixture into the container it will incubate in.
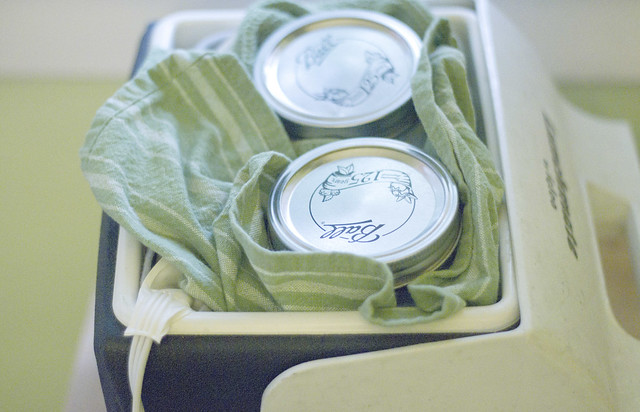
The milk/yogurt mixture has to remain at a constant temperature of 110 to 120 degrees for 6-10 hours in order to become yogurt. Some ovens maintain this temperature with their pilot lights on, but mine does not. If yours does, you can pop it in and set a timer. I create a warm environment by putting a heating pad in an old igloo cooler and insulating the jars of milk/yogurt mixture with clean kitchen towels. If you’re planning on adopting this set-up, test it out first to determine which heating pad setting is ideal for keeping the mixture around 110 degrees (I use the highest heat).
 The longer you let your milk mixture incubate, the tangier your yogurt will be. I like to make only slightly tangy yogurt, so I usually stop the process after six and a half or seven hours. When you’ve decided your yogurt is done, you can dismantle your makeshift incubator (or take it out of the oven, as the case may be). You’ll notice the mixture is definitely more yogurt-like than it was before, but it’s not done yet. A byproduct of the yogurt-making process is whey, a yellowish liquid that you’ve probably seen accumulate in yogurt and sour cream after it sits in your fridge for a few days. If you like watery yogurt, you can stir yogurt and whey together and put it in the refrigerator– you’re done! I like thick, creamy yogurt, so I drain the whey out.
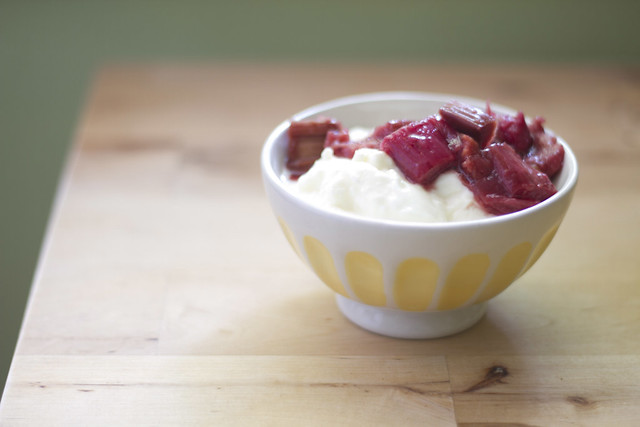
 To strain out the whey, put a few coffee filters over a strainer, and put the strainer over a bowl. Pour in the yogurt, and let it sit in the fridge as it drains. I give it a couple hours so it gets really thick, and I stir it every now and then so the whey drains evenly. Once you’ve reached the desired consistency, transfer your yogurt to a container and discard the whey. You’ve made yogurt! I like to have a bowl of this every morning with a few ripe berries over top. Or, top it with some of this roasted rhubarb, if you’re lucky enough to have a batch in your fridge.

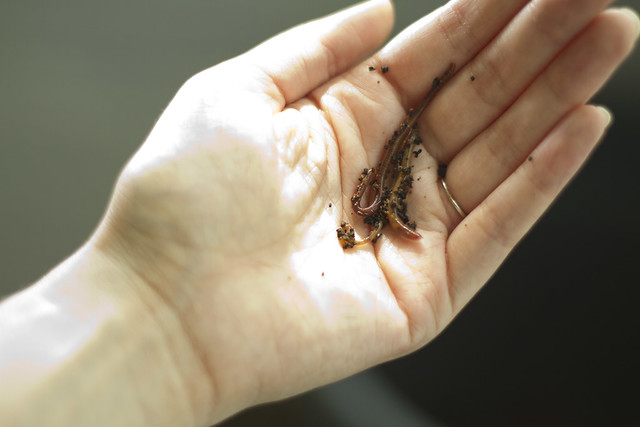 I don’t know if spending my whole childhood hanging out with my two brothers incited my fascination with crawly things, but I think worms are awesome. These worms are especially awesome because they are busy composting most of our vegetable scraps. There are a lot of great resources online about worm composting, but I mostly referred to this one. I find it pretty exciting having a whole self-contained ecosystem sitting out on the back porch. It’s more than just worms and dirt; there are pill bugs and all manner of other insects roaming around in there. And they are getting the job done– they decimated a big pile of carrot peelings in the span of a week.