 A couple weeks ago, my mom drove up from Houston with a paper bag of freshly-picked blossoms and a jar of alum, and told me we were going to dye with flowers. Although I color things occasionally with fiber-reactive dyes, I have pretty limited experience with the natural variety. Usually, plants are used to create a dye bath that tints fibers one color, but we decided to used a variety of different petals to produce a multicolor-speckled yarn. It’s a great project to try if you want to dye something without investing in a lot of materials or equipment. Here’s what you need:
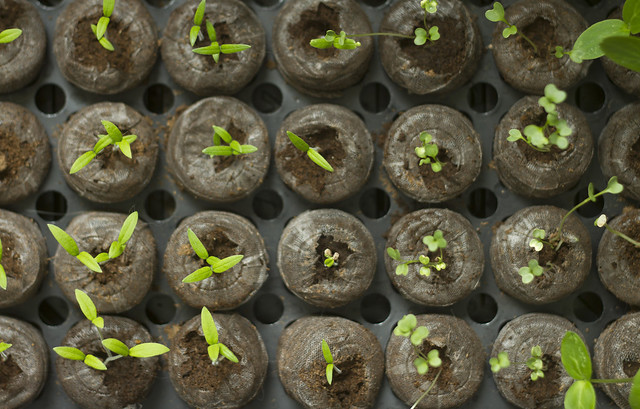
Fibers: This process can be used to dye any kind of natural fibers, but animal fibers (wool and silk) produce much darker and more vibrant colors than plant fibers (cotton, hemp, etc). You can over-dye fibers that have already been colored, but usually get better results when you start with a lighter base color. Synthetic fibers (or blends containing them) will not hold dye well. I used a couple skeins of undyed, 100% alpaca yarn.
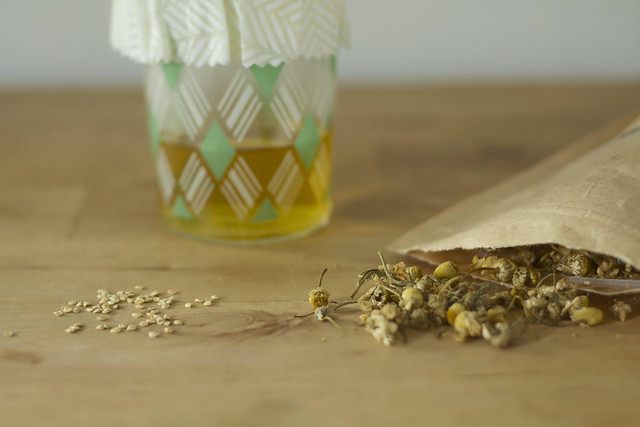
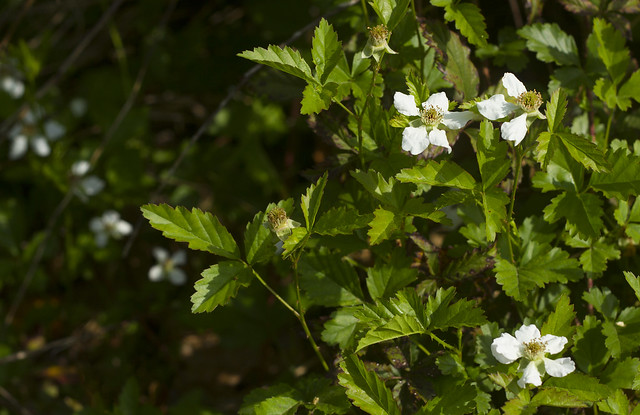
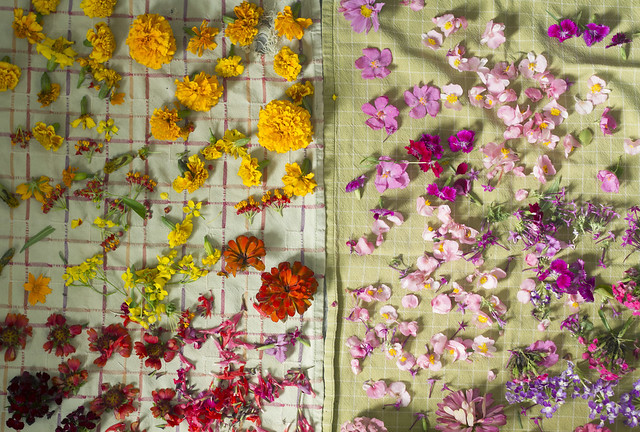
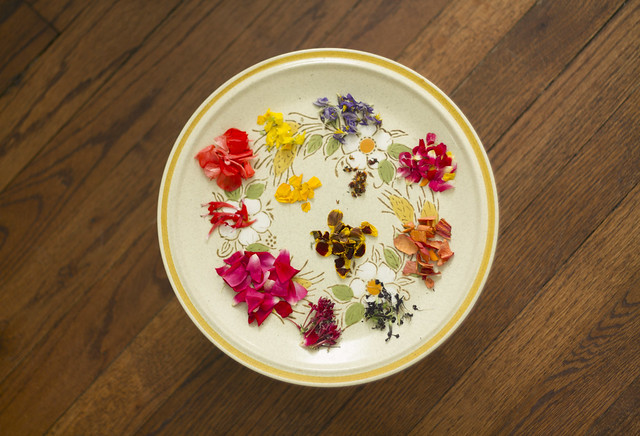
Dyes: We used the petals from a variety of flowers, but there are a ton of plants you can use to naturally dye yarn or fabric. Onion skins, cabbage, beets and turmeric are all great options that you can pick up from the grocery store. My mom brought up some flowers from her garden (marigolds, zinnias, salvia, dianthus, rock rose, begonias, and penta), but we also gathered some from around my backyard (mexican hat, coreopsis, turk’s cap, roses, dandelions, trompillo, and retama blossoms).
Mordant: To get the pigments in your dyes to bind to fibers, you need to introduce a mordant. Without it, you may get similar results initially, but any color the fibers picked up would fade over time. The mordant we used was alum, which you can find in the spice section of most grocery stores. We also added a little cream of tartar, which helps brighten colors.
Heat: Another important step that locks in the color from your dyes is heating the fibers. One method is to steam the yarn in a basket above simmering water, but this method requires a little active participation. If you’re lucky enough to own an immersion circulator, you can put your yarn in a plastic bag and hold it at the perfect temperature in a water bath, sous-vide style. Alternatively, you could create a similar set up in a slow-cooker set on “low”. Whatever method you use, be careful with wool: heat and agitation leads to felting, and it won’t matter how lovely your dye is if you end up with one giant blob of wool.
To petal-dye yarn, the first step is to create a mordant bath. There’s a lot of differing information out there about the best mordant to fiber ratio, but here’s what we used:
1 1/2 tbsp alum
1/2 tbsp cream of tartar
1 liter water
Combine the above, and mix until the powders are dissolved. This makes enough mordant to soak a 50gr ball of yarn at a time. We let our yarn soak in the bath for about half an hour, but you can leave it for up to a day. If your yarn is wound in a skein, be sure to get out as much air as possible, so all of the fibers are well saturated with mordant. While the yarn soaks, prepare your petals. Because winding the yarn is pretty tedious, I try to get everything ready to use so that step goes a little quicker. Remove stems and leaves from your flowers and separate individual petals. Put them all in one spot so you can grab them easily.
 After the yarn is done soaking, remove from the bath, squeezing out excess liquid. The yarn needs to be damp as you wind it, so reserve the mordant liquid in case it starts to dry out. Start winding the yarn into a ball, tucking petals in as you go. We found this process was easiest if the skein was in a deep bowl, so it couldn’t move around too much. The number of petals you use is up to you– I wound the yarn a few times around the ball between each addition.
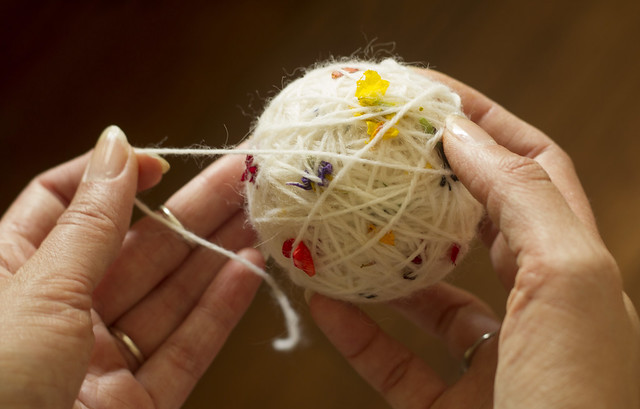
When you’ve finally finished winding, wrap the yarn ball in foil to keep the petals and yarn in place. If you’re steaming the yarn, put the foil ball straight into a steaming basket above a simmering pan of water, making sure that it never reaches a full boil. Cover with a lid, and refill the pan with water as necessary. To heat in a slow-cooker or with an immersion circulator, put the foil ball in a ziplock bag, releasing as much air as possible. I added a couple of butter knives to my bag to weigh it down and prevent it from floating. If using a slow-cooker, add enough water to the basin to cover the yarn, and set it on low. If you’re sous vide-ing your yarn, the ideal temperature to set the immersion circulator is around 180 degrees Fahrenheit (we already had a lamb shank going at 167, and that worked just fine). Heat the yarn for at least a couple hours, and up to 6.
When you’ve finished heating the yarn, remove the foil and allow it to cool some before unraveling it. I wound the yarn around my forearm to keep it neat as I removed petals. When all the petals have been separated, rinse the yarn under cool water for a couple minutes. Blot with a clean towel and dry flat. Marvel at the beautiful, funfetti spots!
Note about flowers: Because we were just experimenting, we used a variety of flower petals without any real expectation. Not all of the flowers we picked dyed our yarn, and some just left brown spots. If you want to test a particular blossom before you permanently color your yarn, crush a petal on a piece of yarn or cotton muslin that has soaked in the mordant bath. If it’s got a good amount of dye in it, it should leave a mark. We found marigolds and coreopsis left the best yellow and orangey spots; turk’s cap, salvia, and pink penta left peachy to hot pink marks; dianthus, mexican hats, and purple penta ranged from purple to denim-blue.
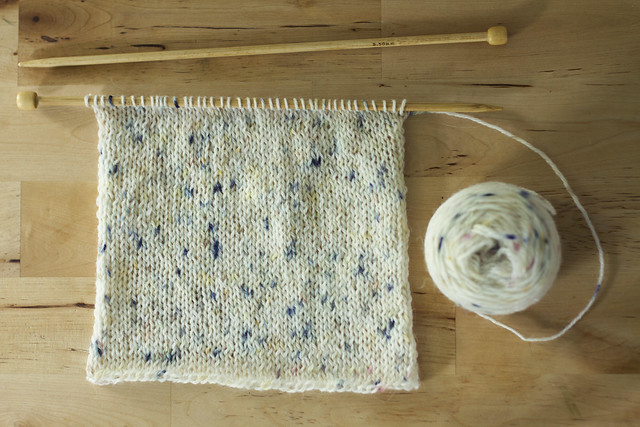
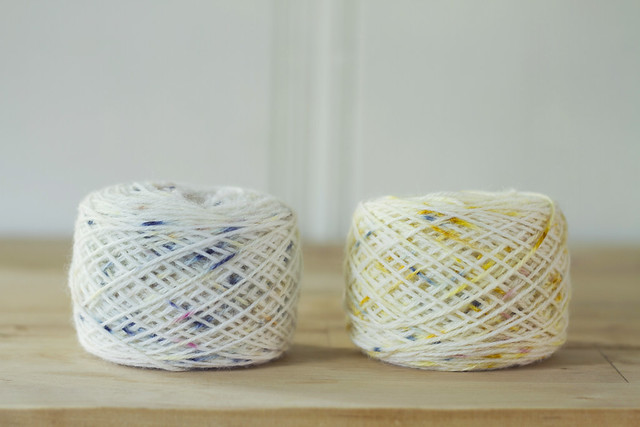
I’m so pleased with how this yarn came out! I wasn’t expecting such vibrant, varied color from natural dyes. Although we used a lot of wildflowers and garden plants, this would also be a great way to preserve a special bouquet. Now I’ve just got to find a knitting project worthy of this lovely yarn.

 Even more than I like making things, I like making baby things. And when the parents-to-be are some of my favorite people, I tend to go a little overboard.
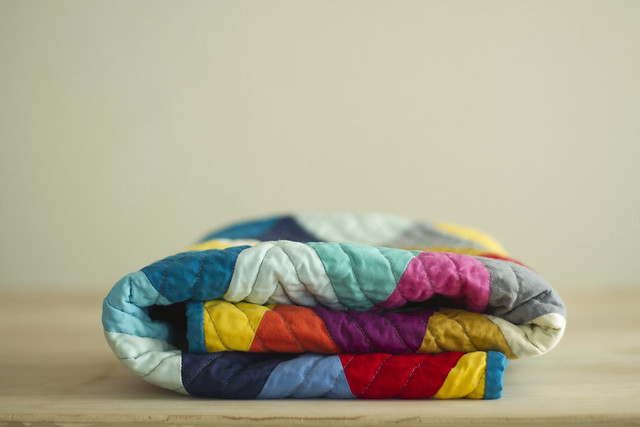
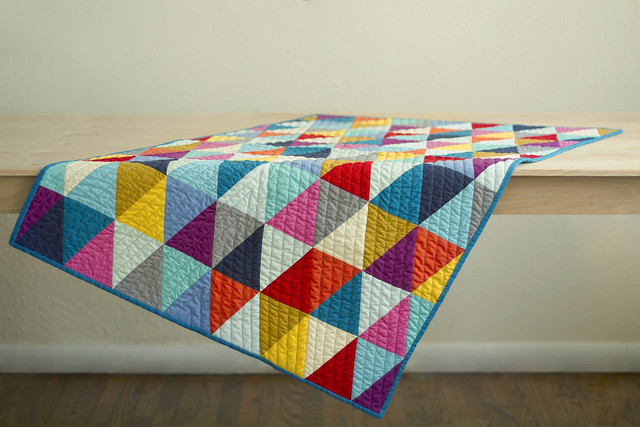 I was eager to make another quilt, and an impending birth seemed like the perfect opportunity. My expecting friend is waiting to find out her baby’s gender, so I let the colors she’d picked for the nursery inform my fabric choices. I also drew inspiration from the triangle motif on the rug she selected, and decided to make an isosceles triangle quilt. It seems like a simple pattern, but I still referenced this tutorial before I started (a step that kept me from messing up my seam allowances). The placement of the quilt pieces was ostensibly random, but I kept contrast in mind and tried to alternate cool and warm colors. My absolute favorite part of this quilt was looking at how the different combinations of colors played off each other.
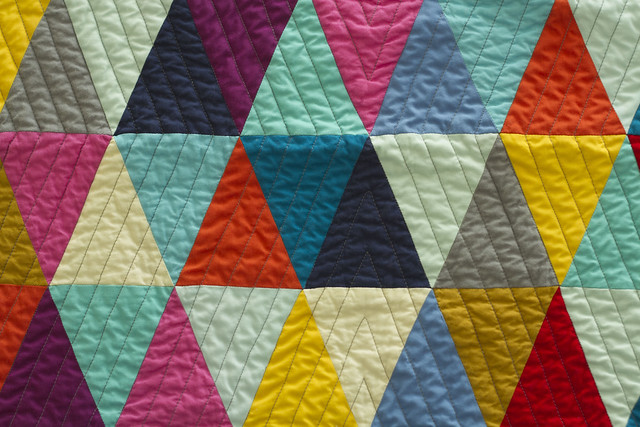 After the top was finished, I backed it with a silky microfiber sheet, and quilted it in straight lines with grey thread. The sides aren’t exactly straight, and my quilting is pretty wonky in places, but I made sure the points of each triangle were exactly aligned. Sometimes partial perfection is good enough.